vue开发问题总结
vue 开发中遇到的一些问题及解决方法
# 一、前后端跨域接口实现
# 1、安装 axios 插件并设置全局
1 | npm install axios --save-dev |
安装完成后对 axios 进行全局调用,在 main.js 中设置
1 | import axios from 'axios' |
# 2、设置跨域代理
在 config 文件夹的 index.js 文件中 (或者是在 vue.config.js 中),设置 proxy 模块代理,之后重启项目
1 | devServer: { |
# 3、 发送请求
在 src 的 views 文件夹中创建 test.vue 文件,在文件中进行编写,这里只介绍 js 部分,在 method 方法中设置接口,如下:
1 | loopResult (data) { |
这样便可以调用 data 中声明的变量对应数据,从而在页面显示出来。
1 | export default { |
也可以将异步方法封装成 spider.js, 如
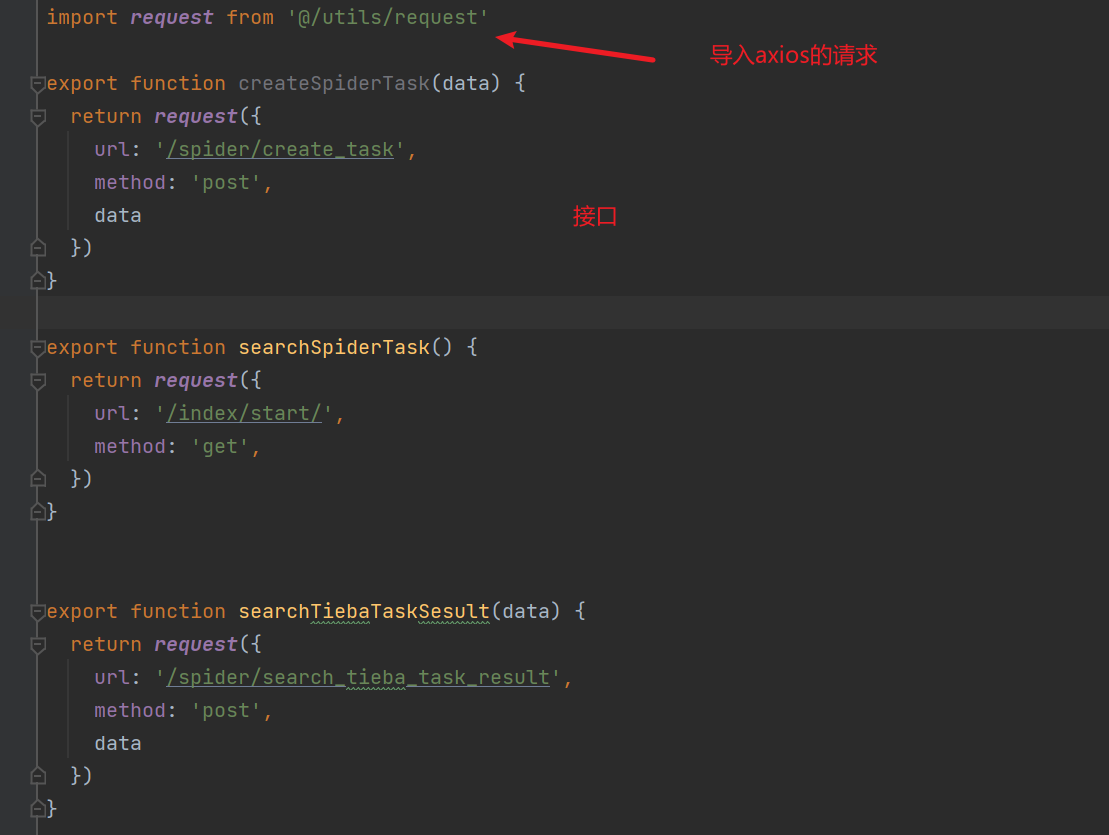
在 request.js 中,可以改 VUE_APP_BASE_API 为想要的值

# 二、 动态表格实现
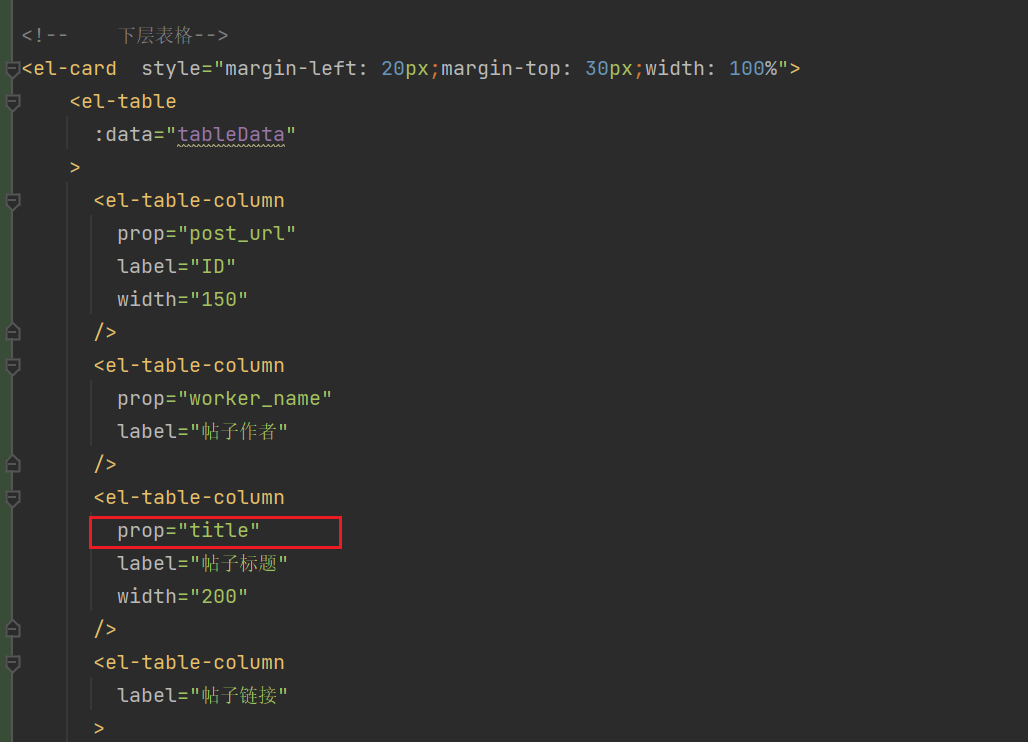
在 vue 的 template 中引入 el-table,props 对应后端传来的 json 数组中元素的名称

# 三、vue - 将数据存入 vuex 中以及从 vuex 中取出数据
Vuex 是一个专为 Vue.js 应用程序开发的状态管理模式。它采用集中式存储管理应用的所有组件的状态,并以相应的规则保证状态以一种可预测的方式发生变化。简单来说就是:应用遇到多个组件共享状态时,使用 vuex。
# vuex 的五个核心概念:
- State:共享状态,vuex 的基本数据,用来存储变量,相当于组件 data 里的数据,只不过此时变成了全局变量。
- Getter:基于 state 的派生状态,相当于组件中的 computed 中的属性。
- Mutation:更改 vuex 中 store 共享状态的方法,通过提交 mutation 来去修改状态,进行同步操作数据,通常用于 action 获取异步数据,获取通过 commit 提交数据给 mutation,在 mutation 同步操作 state 中的数据。
- action:支持异步操作,可用于异步获取请求中的数据,并将获取的数据同步 commit 提交给 mutation,实现 ajax 异步请求数据,mutation 将其数据同步到 state 中。
- modules:模块化 vuex,为了方便后期对于项目的管理,可以让每一个模块拥有自己的 state、mutation、action、getters, 使得结构非常清晰,方便管理。
优势和劣势有哪些?
优势主要就是可以全局共享数据,方法。方便统一管理
劣势的话,页面刷新后 state 的变量都会还原清空,不会像 cookies 一样持久性存储
页面刷新后 vuex 的 state 数据丢失怎么解决?
先说一下为什么会丢失呢?
因为 store 里的数据是保存在运行内存中的,当页面刷新时页面会重新加载 vue 实例,store 里面的数据就会被重新赋值
如何避免?
其实主要还是看使用的场景是怎样的,如果想某些数据持久性保留也可以搭配使用 cookies 或者 localStorage。比如一些登录的信息等。
比如请求拿到了登录信息后可以先存在 localStorage,将 state 里的变量值和 sessionStorage 里面的绑定,mutations 中修改的时候同时修改 state 和 localStorage。最后页面直接使用 vuex 中的变量。
# 正式进入使用
vuex 的安装
打开终端,输入命令行 npm install vuex --save 进行下载 vuex
# vuex 应用核心管理仓库 构建 store
这里新建 store 文件夹,创建一个 js 取名为 index.js,
在 index 里 ,通过将 state,mutations,actions,getters 引入到 store 中,并暴露出 store 对象。
下面为 index.js 的代码
1 | /* |
挂载 store 到 vue 实例上
main.js 中
1 | import store from './store' |
# state 状态管理数据
我们通常将需要进行管理的共享数据,放入 state 中,使其形似为全局变量,对于需要的组件进行引入该 state 状态数据。
1 | const state = { |
# mutations 同步提交数据
mutations 用于更改 state 中的状态逻辑的,且为同步更改 state 中的状态数据。
需要知道的是在 vuex 中只能通过 mutation 来去修改 state 对象,
可以通过获取 actions 获取到的数据去修改 state, 也可以在 mutations 模块中直接定义方法来去更改状态数据。
1 | const mutations = { |
通过 mutations 和下面的 actions 模块,大家也可以看出 commit 是用于调用 mutation 模块中的。
在组件中调用其 mutation 模块的代码为:
1 | this.$store.commit('SET_TOKEN', token_data) |
# actions 的异步操作
actions 与其 mutations 类似,但其可以进行异步操作,
且将异步操作获取的数据提交给 mutations,使得 mutations 更改 state 中的状态数据,这里常常用于获取 ajax 请求中的数据 (因为是异步),并将其获取的数据 commit 提交给 mutations 使得 state 数据状态的更新。
和 mutations 的不同之处在于:
- Action 提交的是 mutation,而不是直接变更状态。
- Action 可以包含任意异步操作。
举例
1 | /* 下面就是通过actions执行异步Ajax请求, |
这个 actions 在组件中的调用方法就是:
1 | this.$store.dispatch('user/login', postUser) |
# Getters 对 state 进行加工
Getters 相当于 computed 计算属性,用于加工处理 state 状态数据,有其两个默认参数,第一个默认参数为 state,第二个默认参数为 getters。
1 | const getters={ |
在组件中调用该方法的代码片段为:
1 | this.$store.getters.totalCount() |
# 在 Vue 组件中获得 Vuex 状态
从 store 实例中读取状态最简单的方法就是在计算属性中返回某个状态,由于 Vuex 的状态存储是响应式的,所以在这里每当 store.state.count 变化的时候,都会重新求取计算属性,进行响应式更新。
1 | computed: { |
那么对于以上的 store 我们就简单介绍完了,相信大家看完后对于 vuex 会有一定的理解。那么这个时候我们要想,是不是使用 this.$store.state 或 this.$store.getters.xxx 感到麻烦呢?下面我们介绍另一种引入 state 和 getters 的方式
# 辅助函数 mapState 和 mapGetters
对于上述的在组件中引用 state 和 getters 的方法是不是感到麻烦呢?使用 mapState 你将会感受到便利。
组件中这样使用
1 | //首先我们需要先将辅助函数引入 |
# Module 子模块化管理
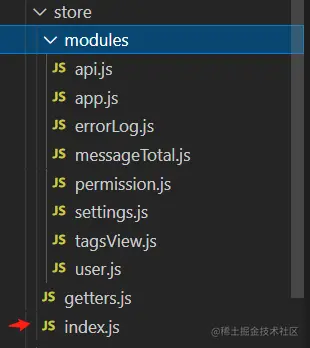
store 文件夹下的 index.js 代码如下
1 | import Vue from 'vue' |
文件目录如图
举例 api.js
1 | import { getKey, getLogin, logout, getInfo } from '@/api/user'; |
这样后可以按功能分 module 使用
页面中调用就是
1 | // 使用mutations |
# 四、解决 vuex 中刷新数据,数据消失问题
# 解决方法
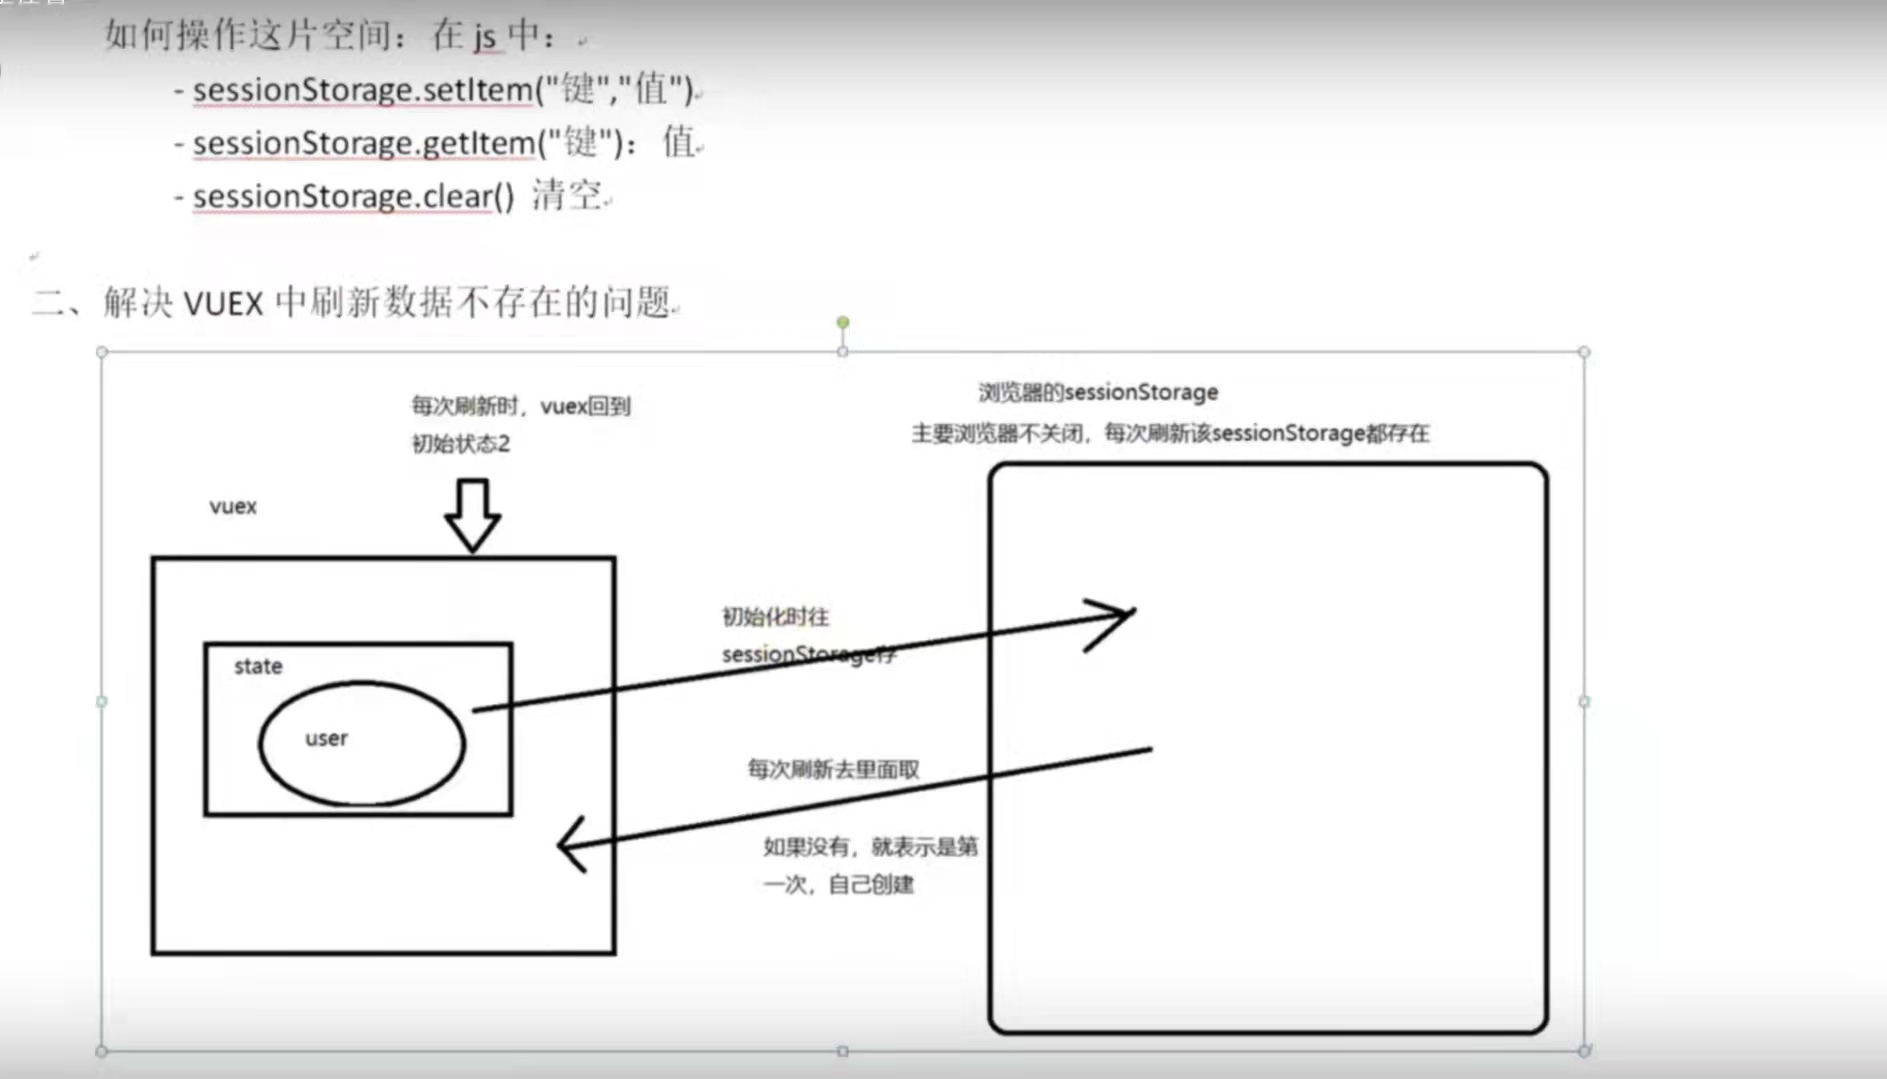
# 操作
在自定义的 waiter.js 中加入 sessionStorage
1 | import {searchSpiderTask} from "@/api/spider"; |
在对应的 vue 中
1 | //触发方法 |